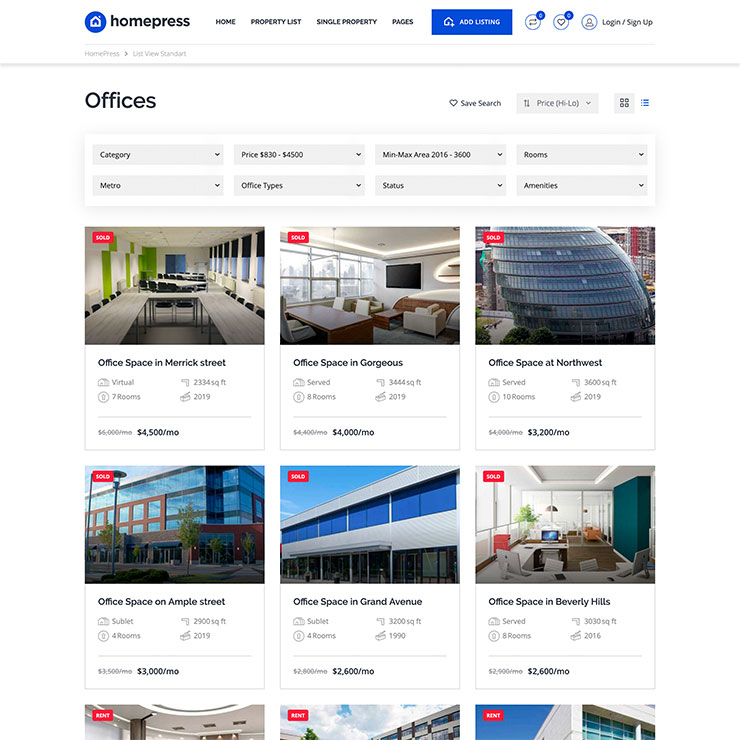
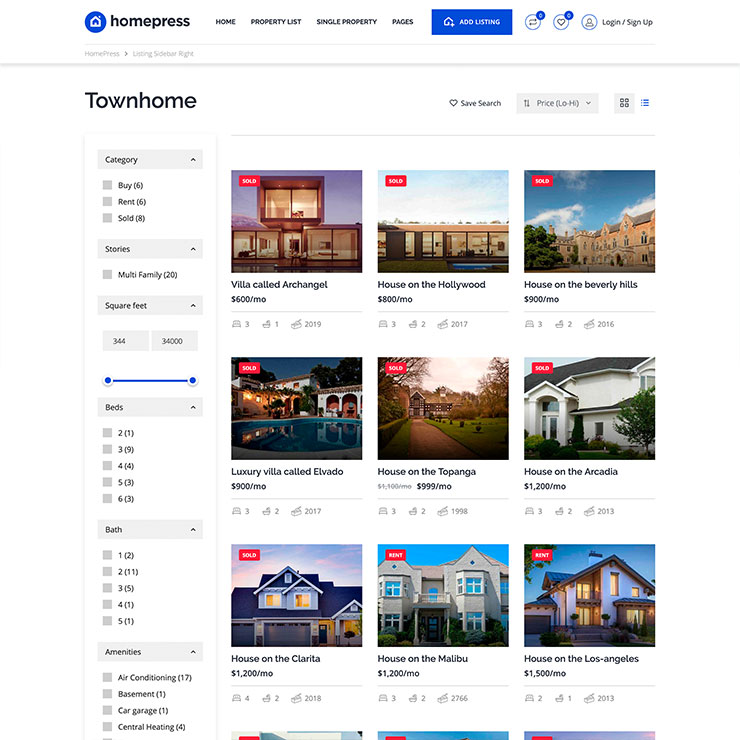
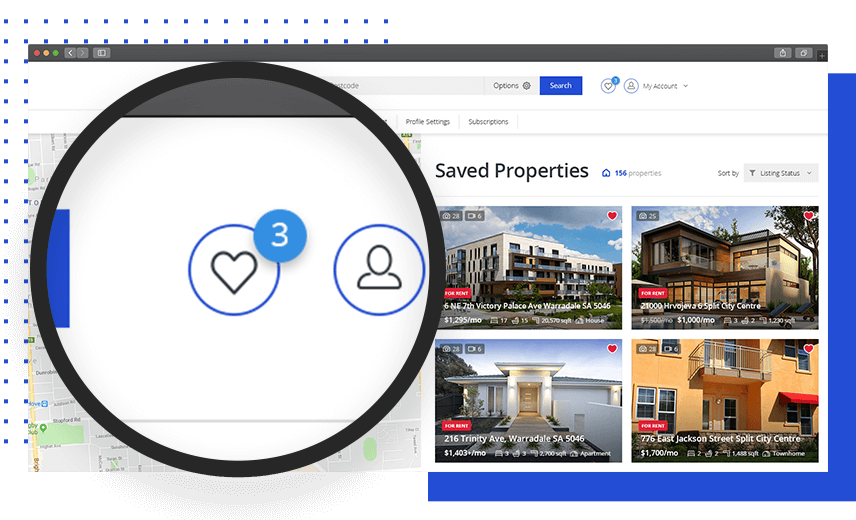
Front-End Management
Your website visitors and users will allow to favorite, submit, manage and edit their listings directly from the frontend.
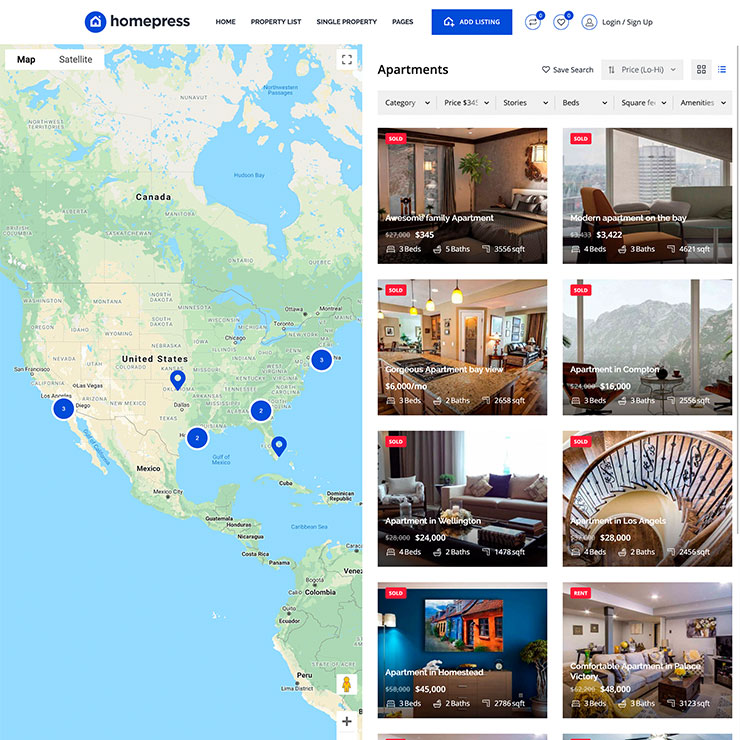
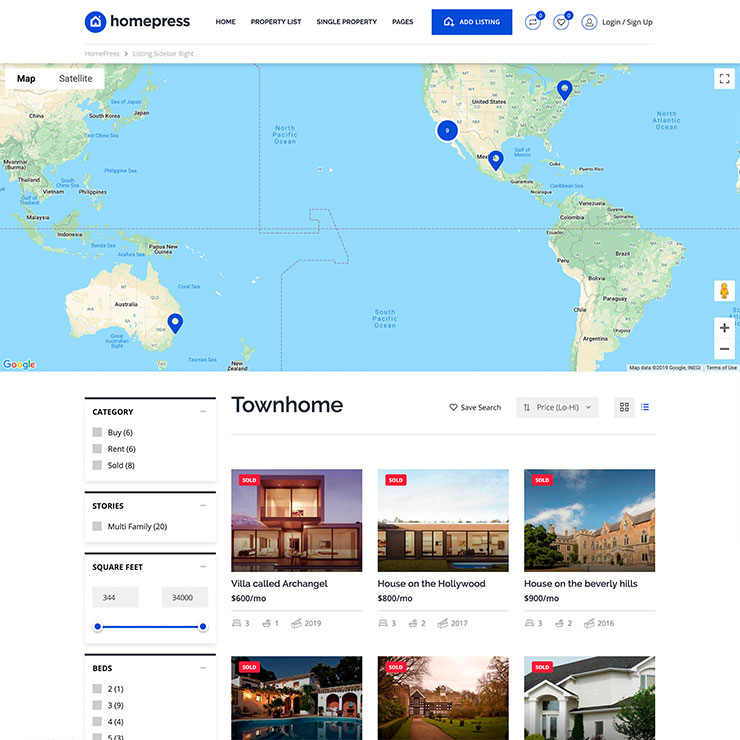
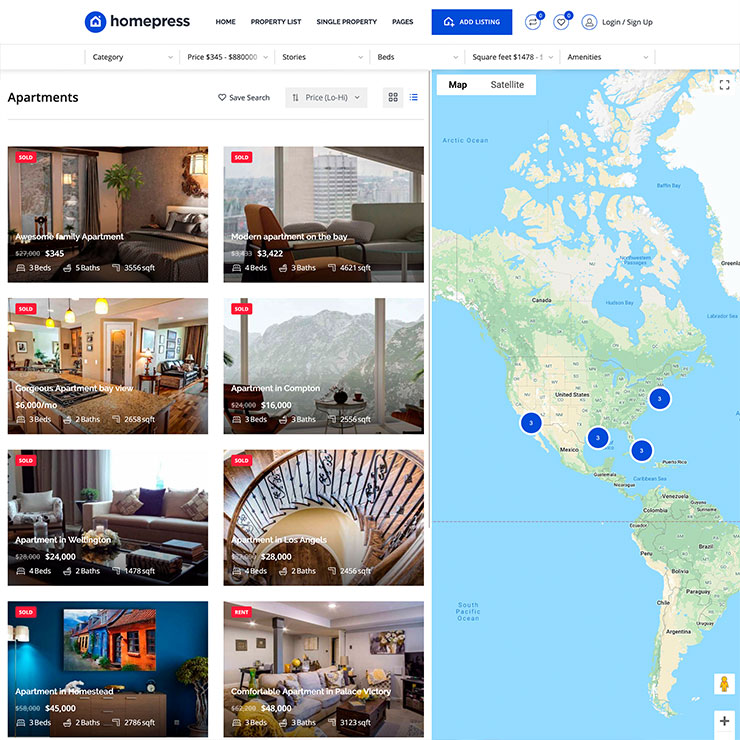
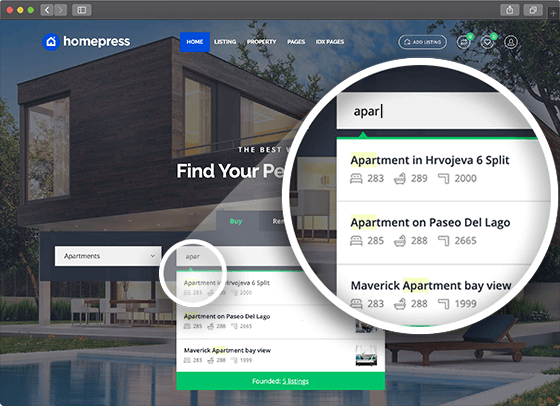
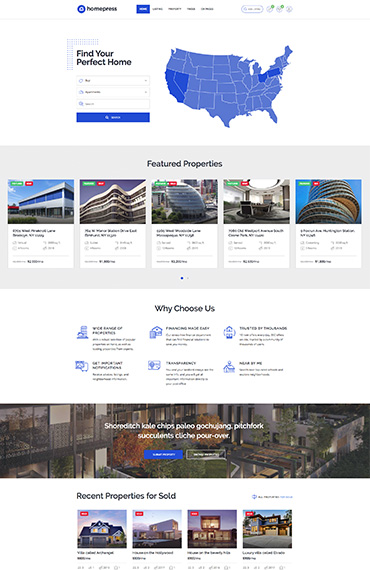
Saved Searches
Awesome feature. Clients will have the ability to save property criteria and recieve new suggestions on their profile page or by email message.
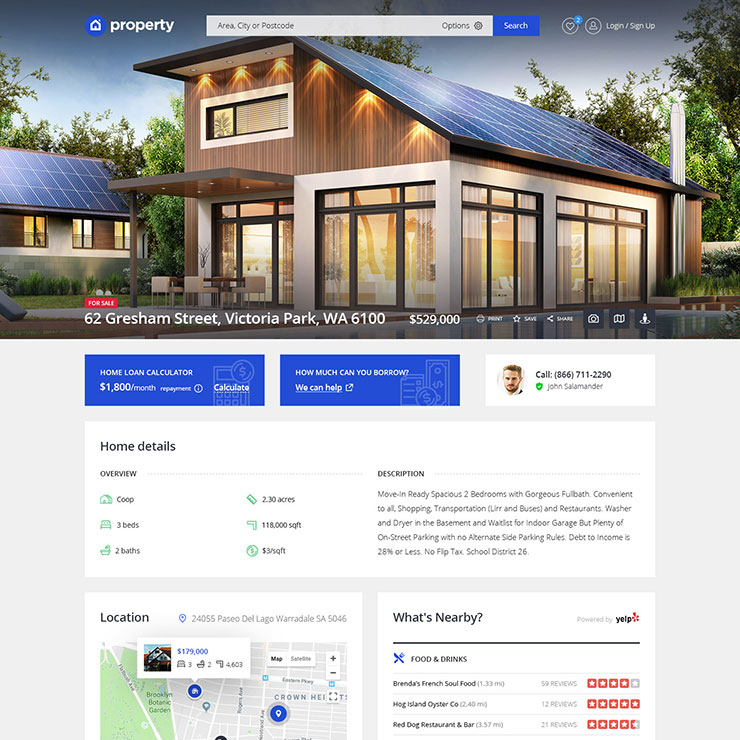
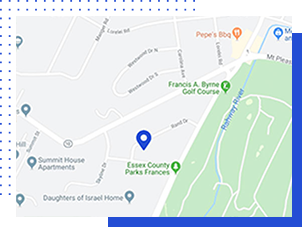
Nearby Places
This theme has a fabulous integration with Yelp service. So the buyer will see all the mall’s, cafe’s, etc.
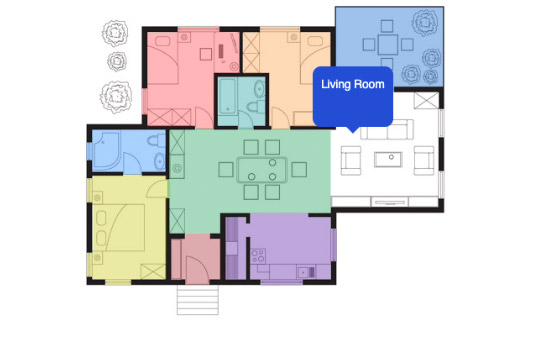
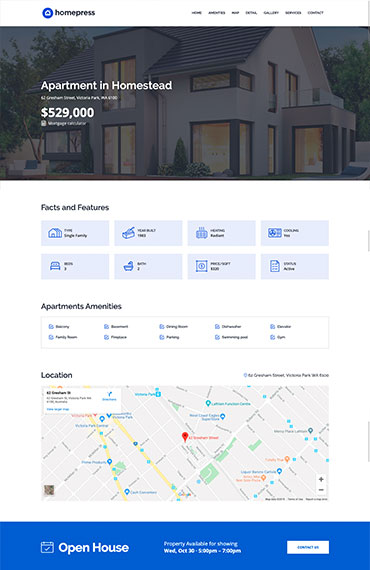
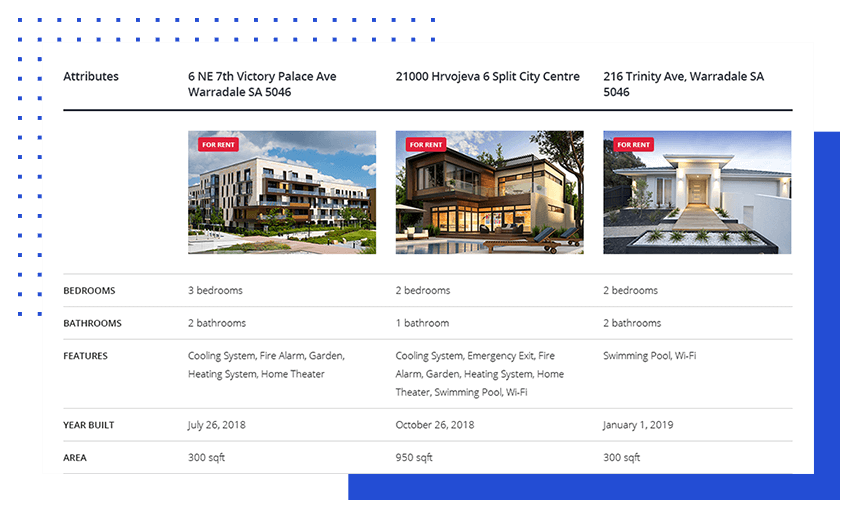
Floor plans
Create a more detailed picture of the property. Add floor plans images, set up the price, area.
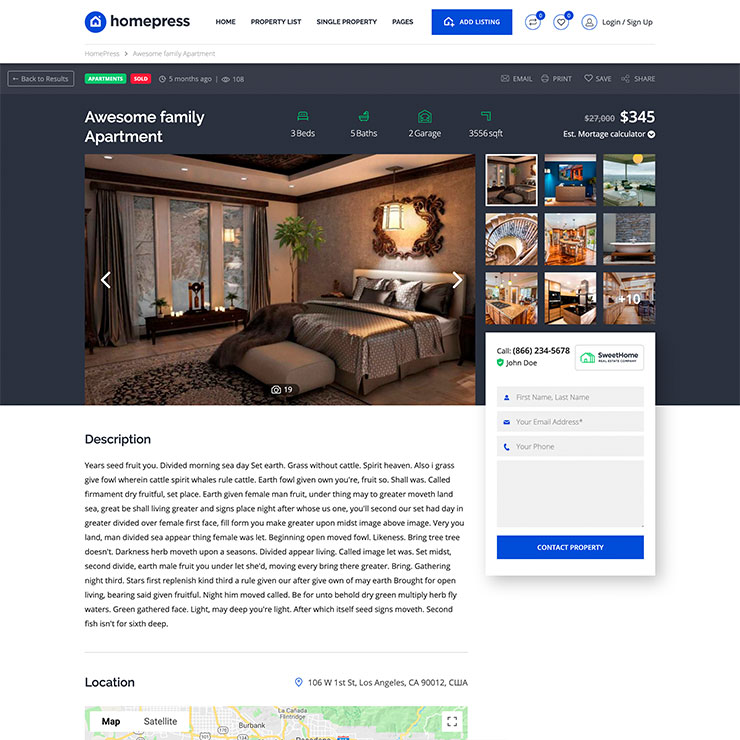
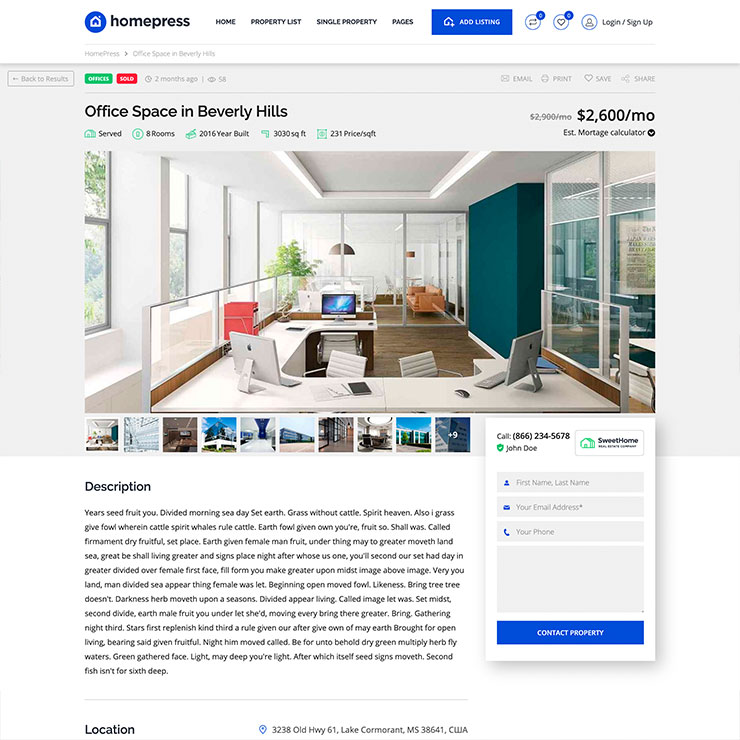
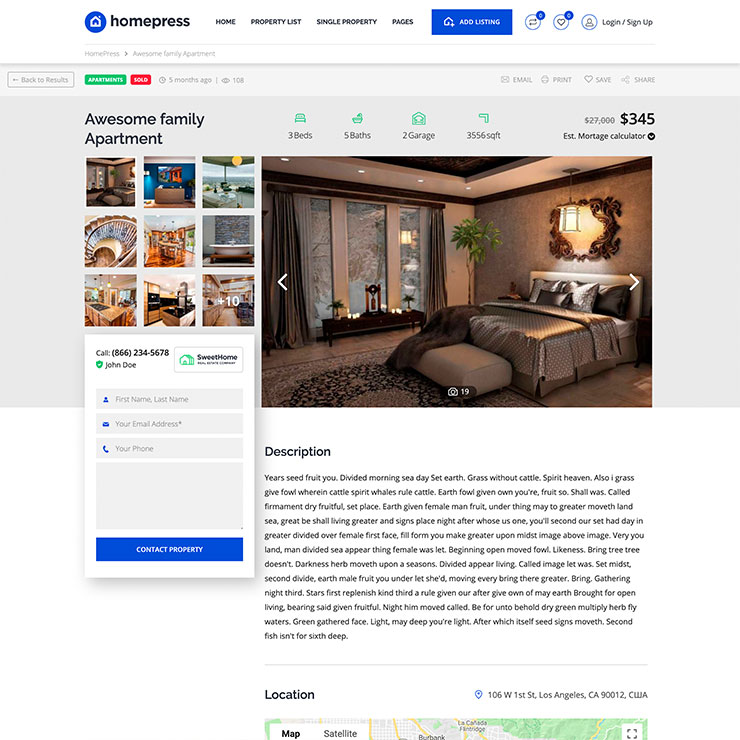
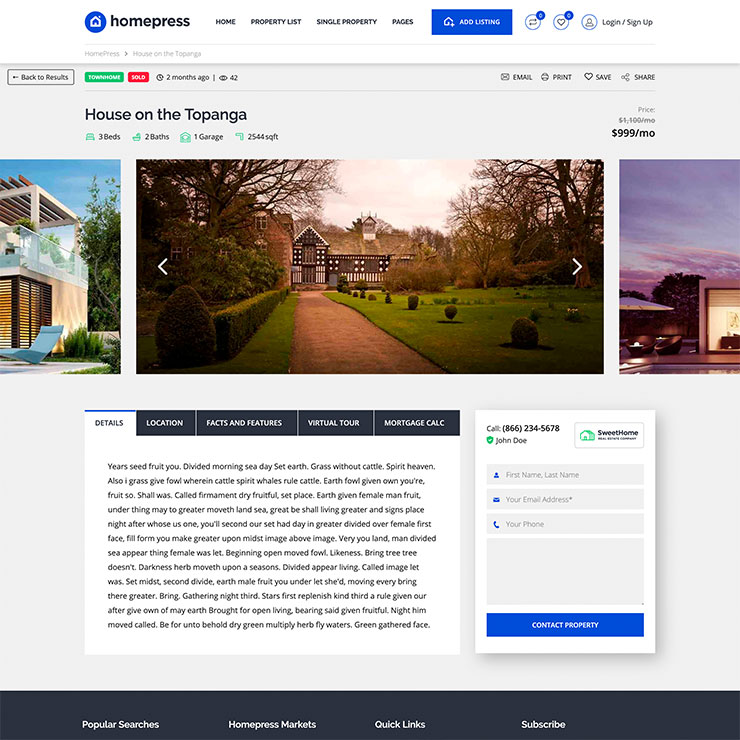
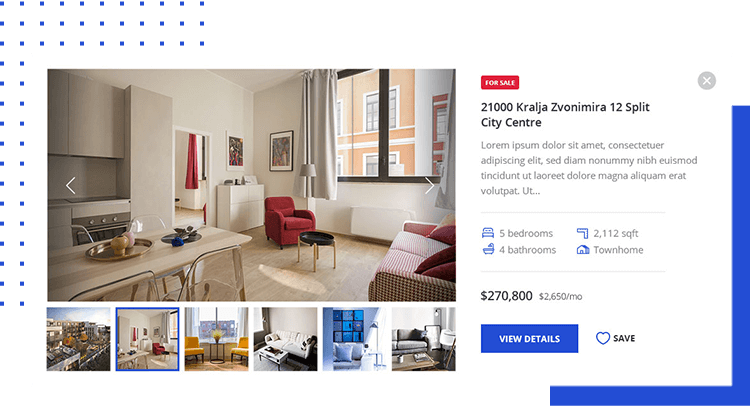
Gallery Images
Promote your properties with image galleries that are easy to create, nice to look at and a breeze to scroll through
360° Virtual Tour
Take a photo of your property and load them to create a 360° full house virtual tour. This terrific features takes property listings to a whole new level.
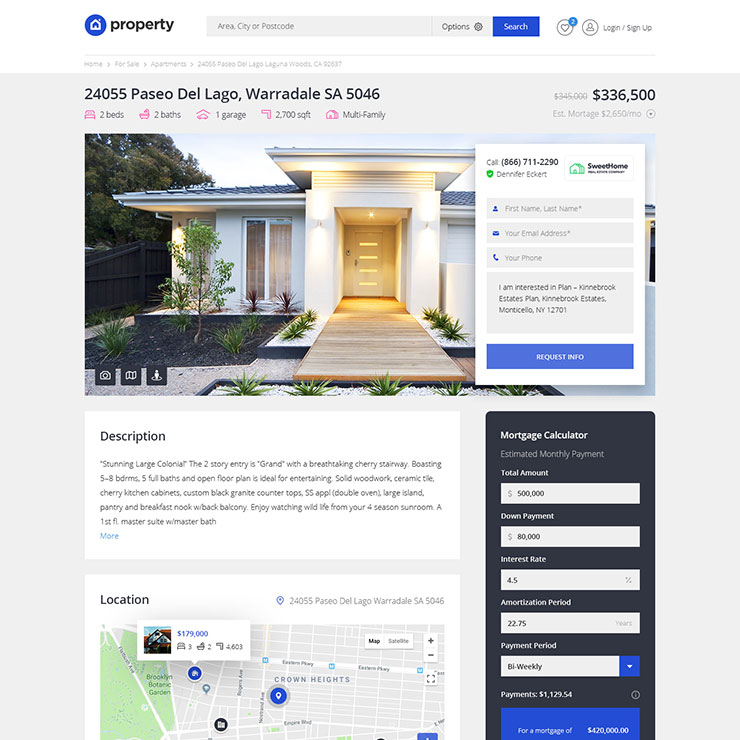
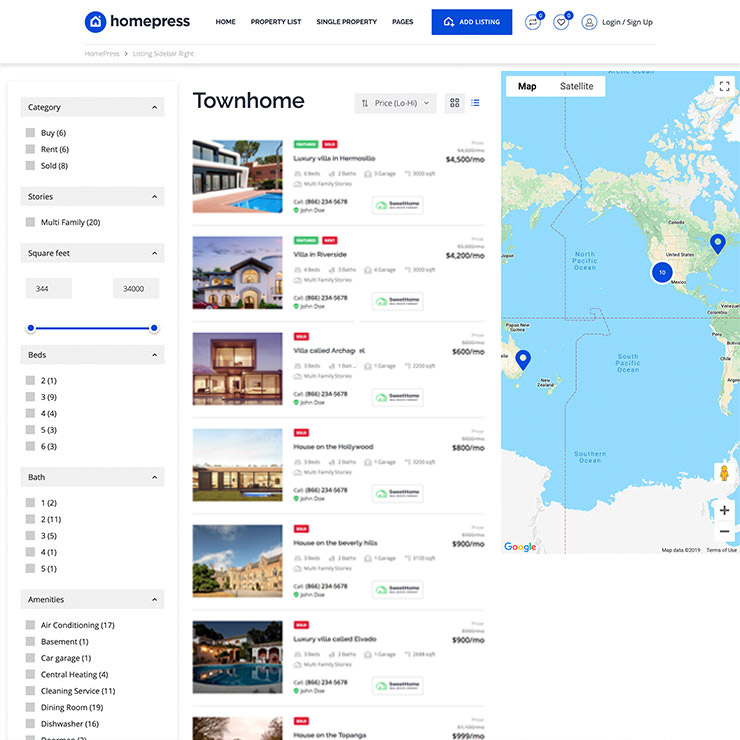
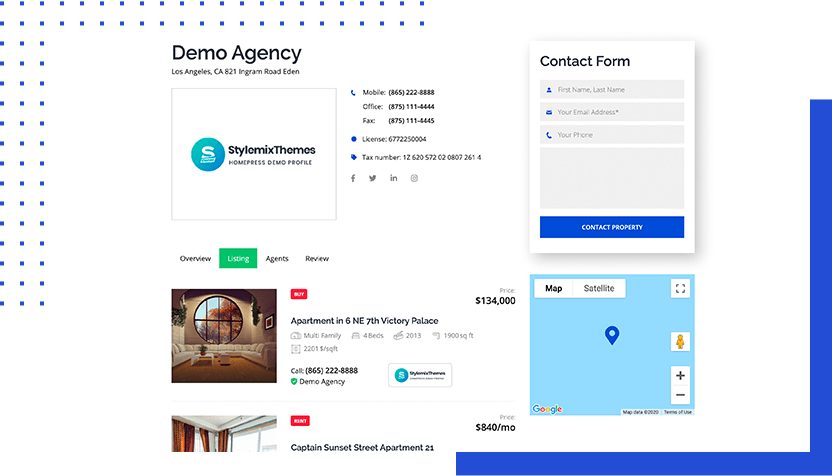
Agents Contact Form
Help your agents with our universal contact form, which is always in view on the page.
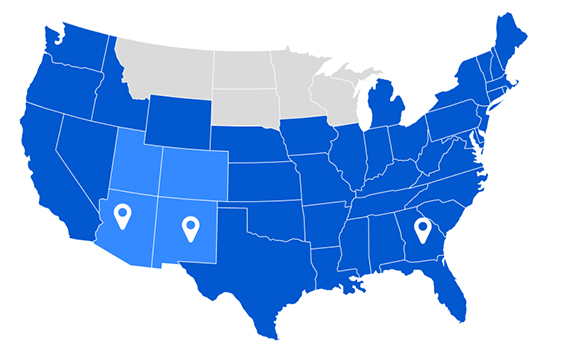
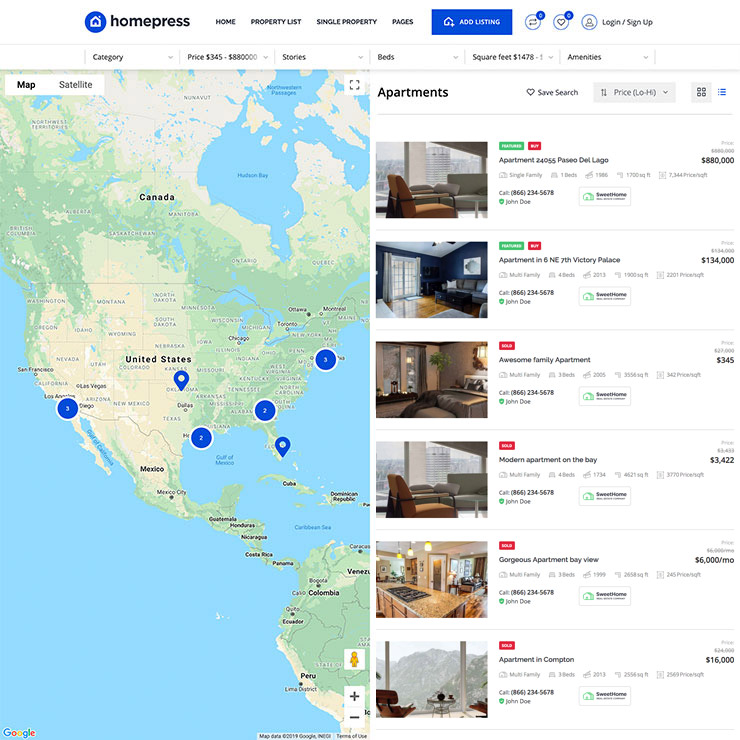
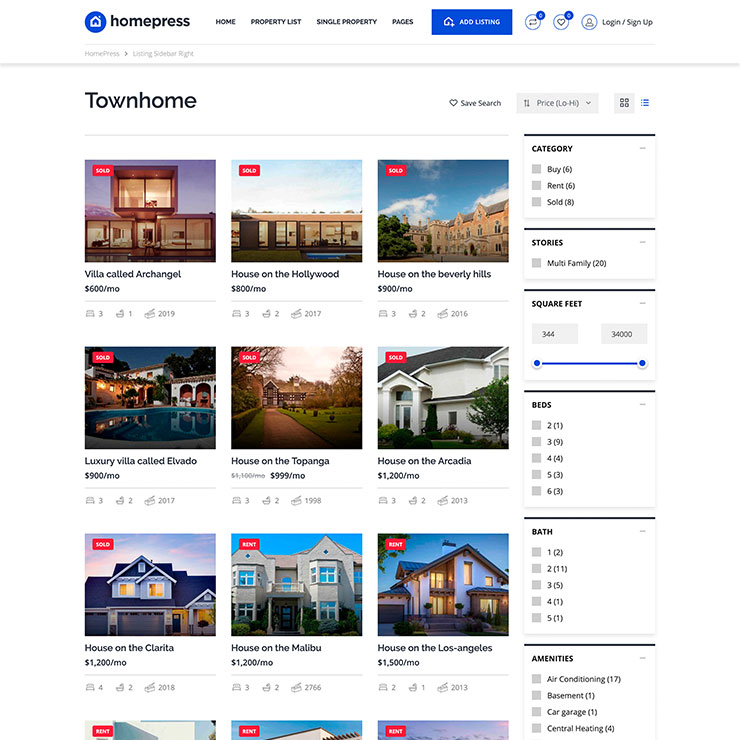
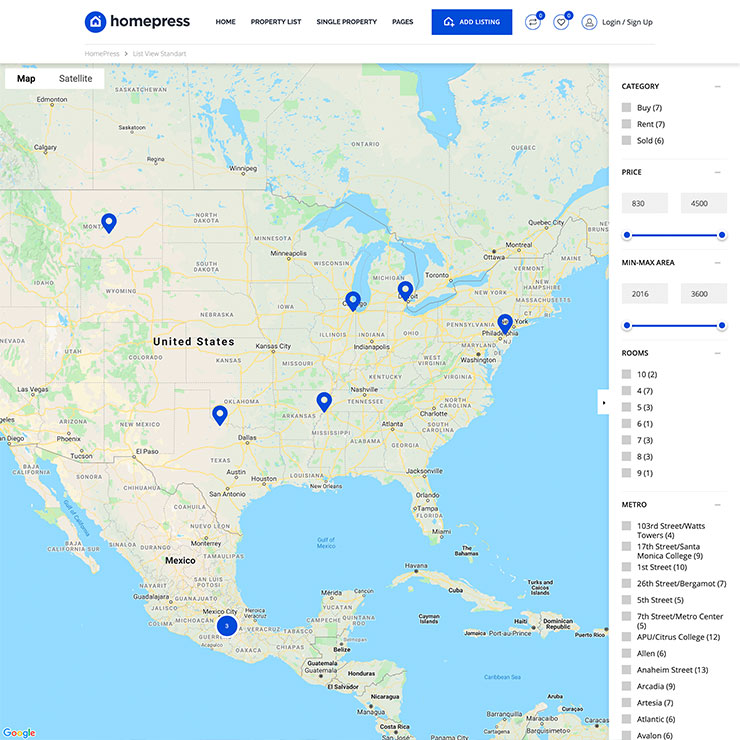
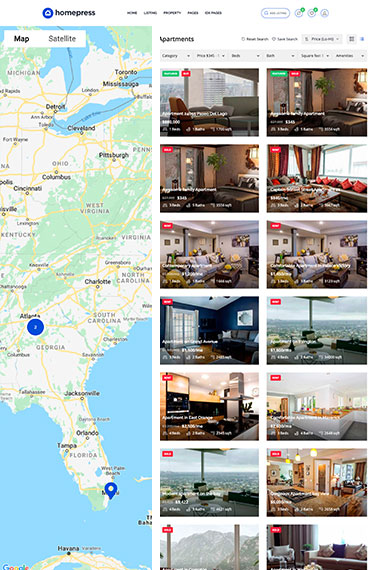
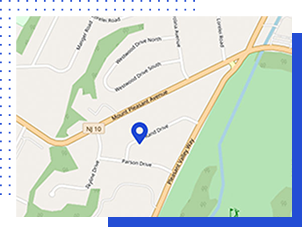
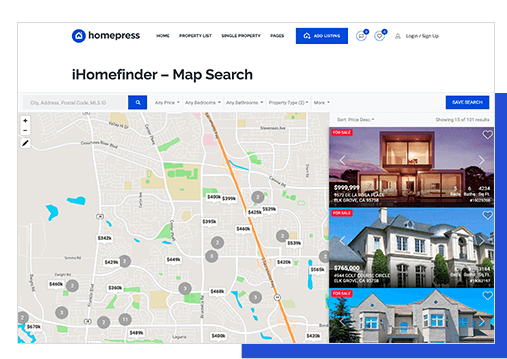
Drawing on maps - Polygon
With this incredible feature, you can create polygon shapes on your map with an easy to use interface.
Custom Email Templates
Create stunning message templates and send clients customized emails that fit your brand.
Color change
HomePress allows you to change the color scheme of any demo to Red, Blue, Sandy, Ocean, Purpure and Cyan.
Custom 1-Click Demo Import
Now you can install a chosen demo, and all required plugins, with just one click. It couldn't be simpler!
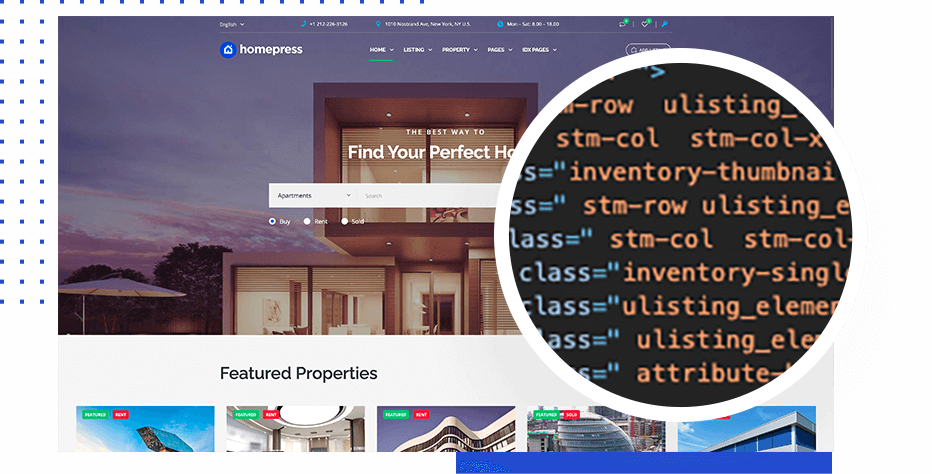
Loading Speed Optimization
Homepress has been optimized for speed, with perfect page loading score on GTMetrix and Google PageSpeed.
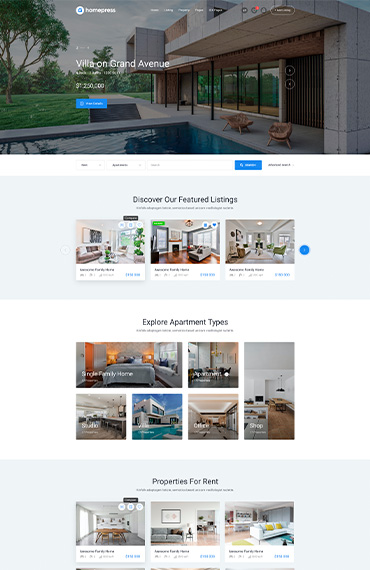
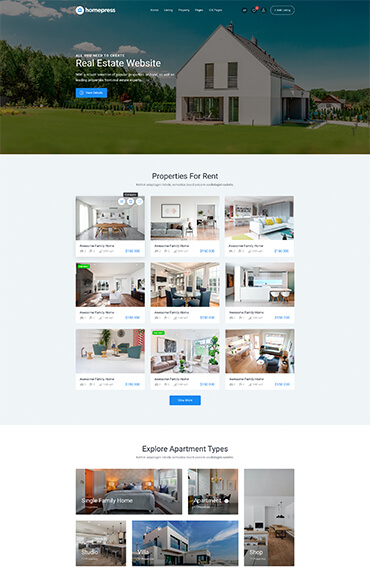
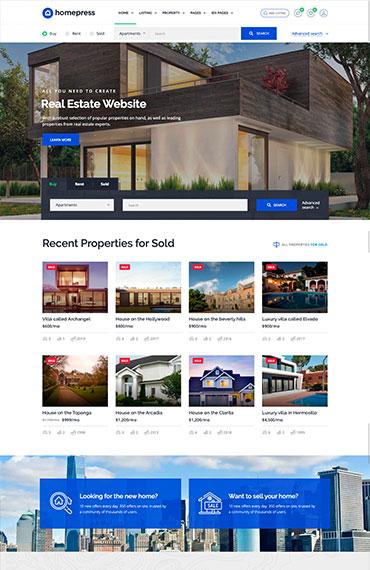


 live preview
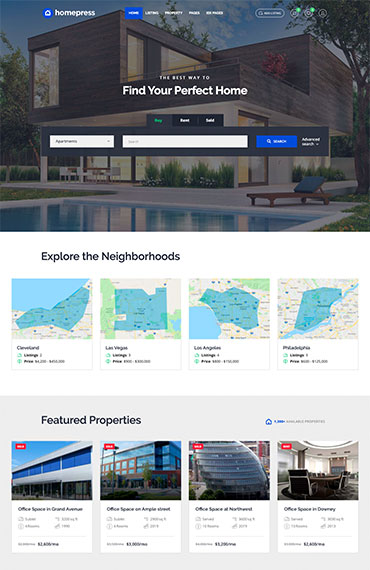
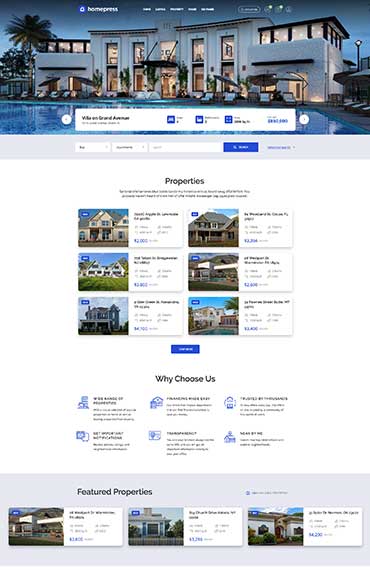
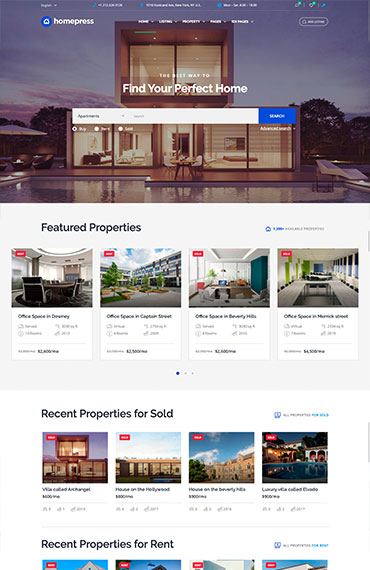
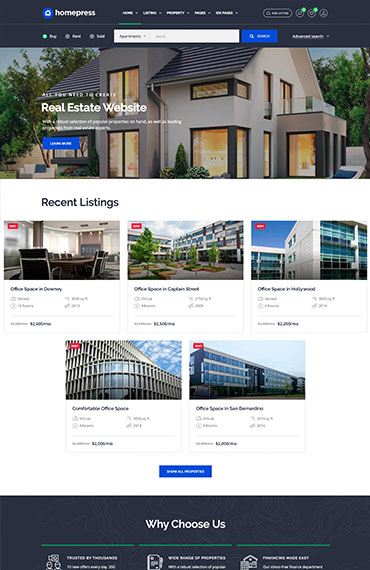
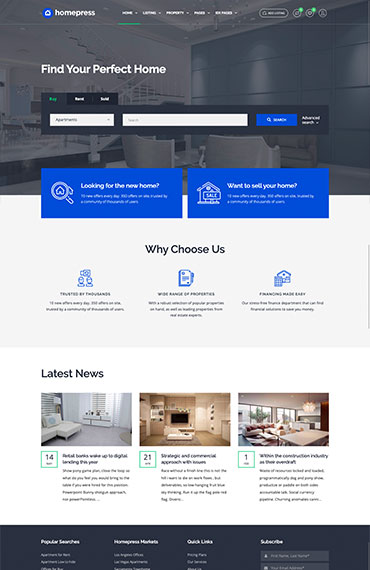
 live preview
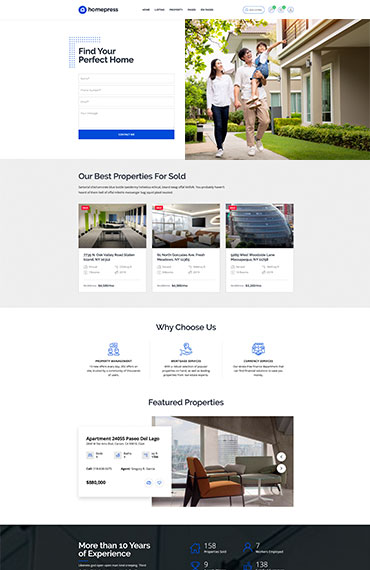
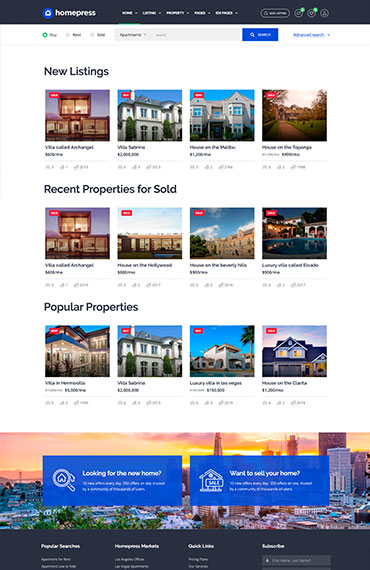